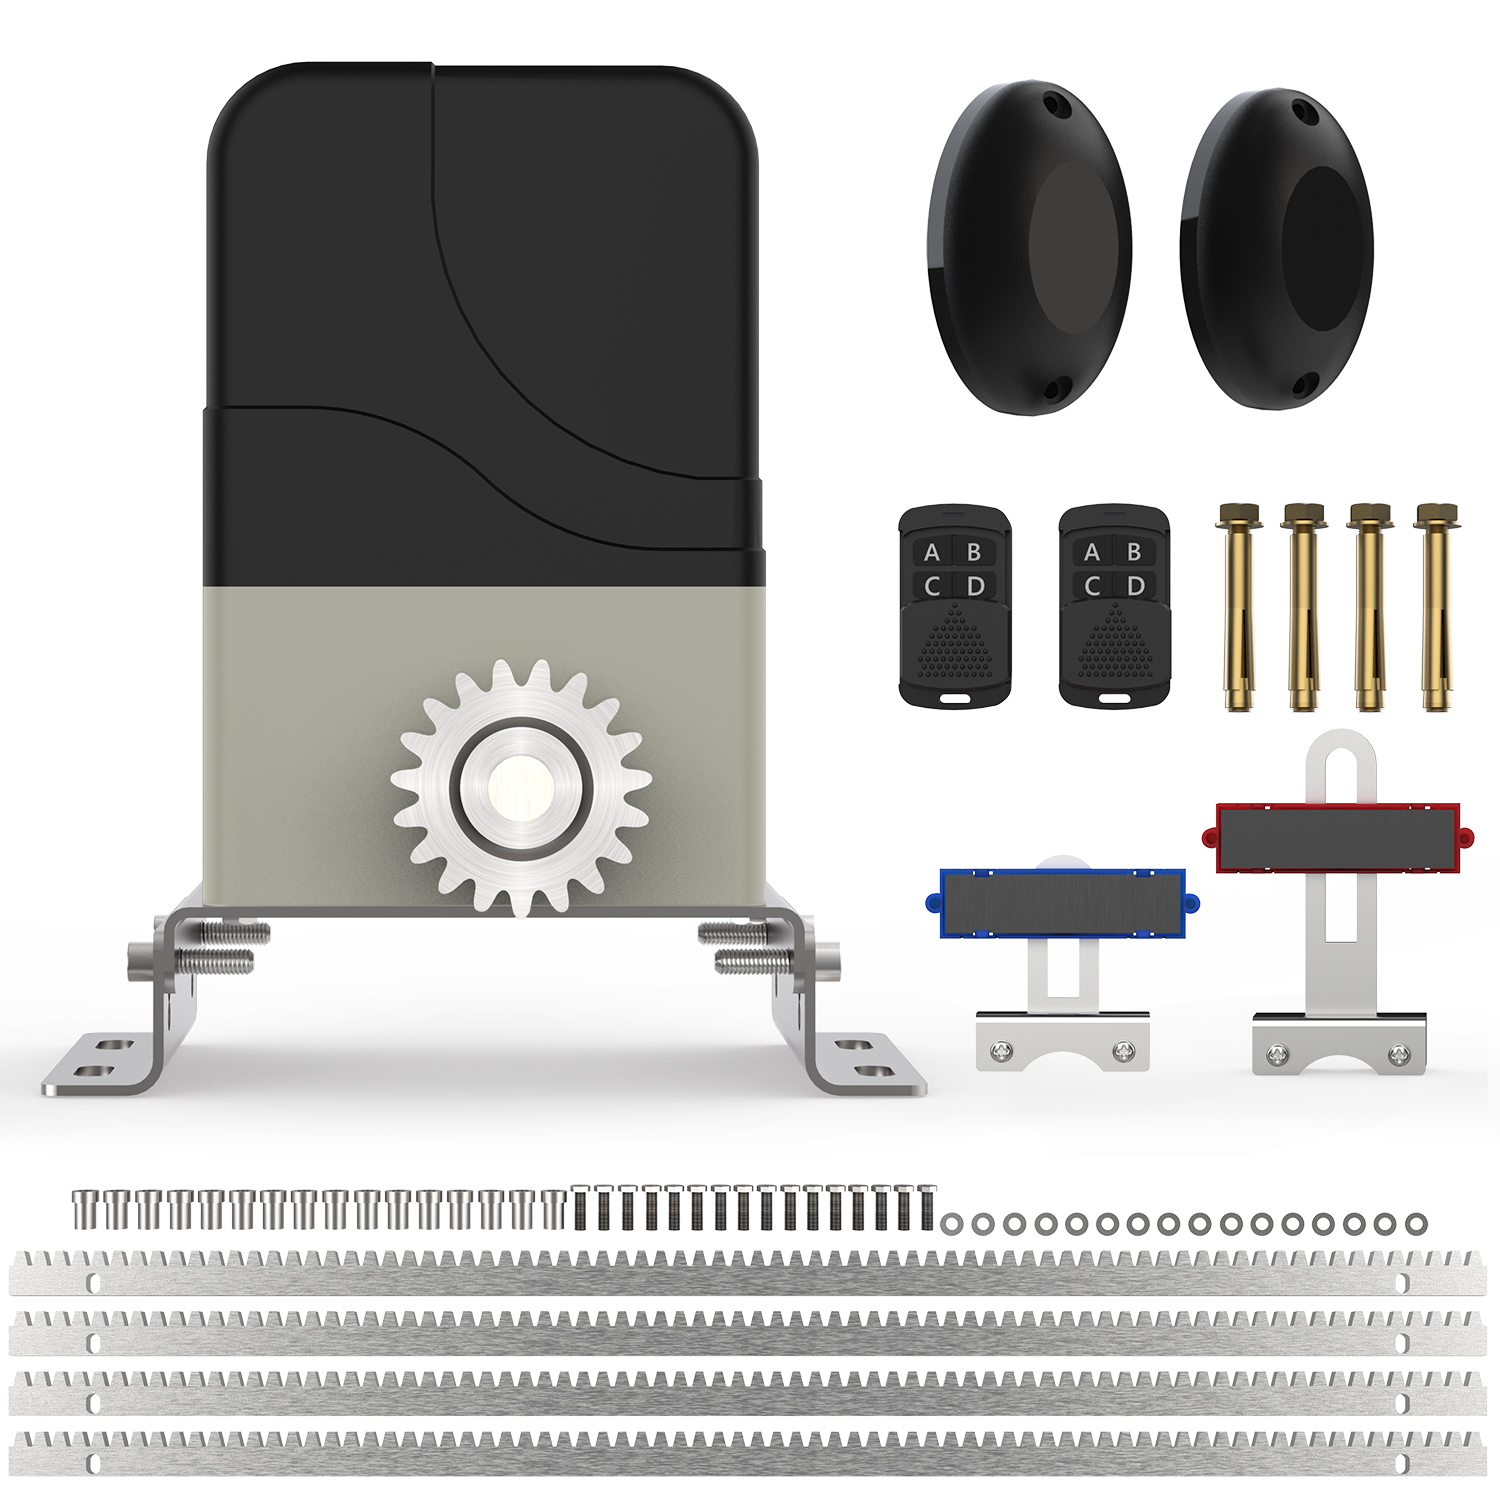
MJ-300 Sliding Gate Opener (Steel Rack + IR Sensor)
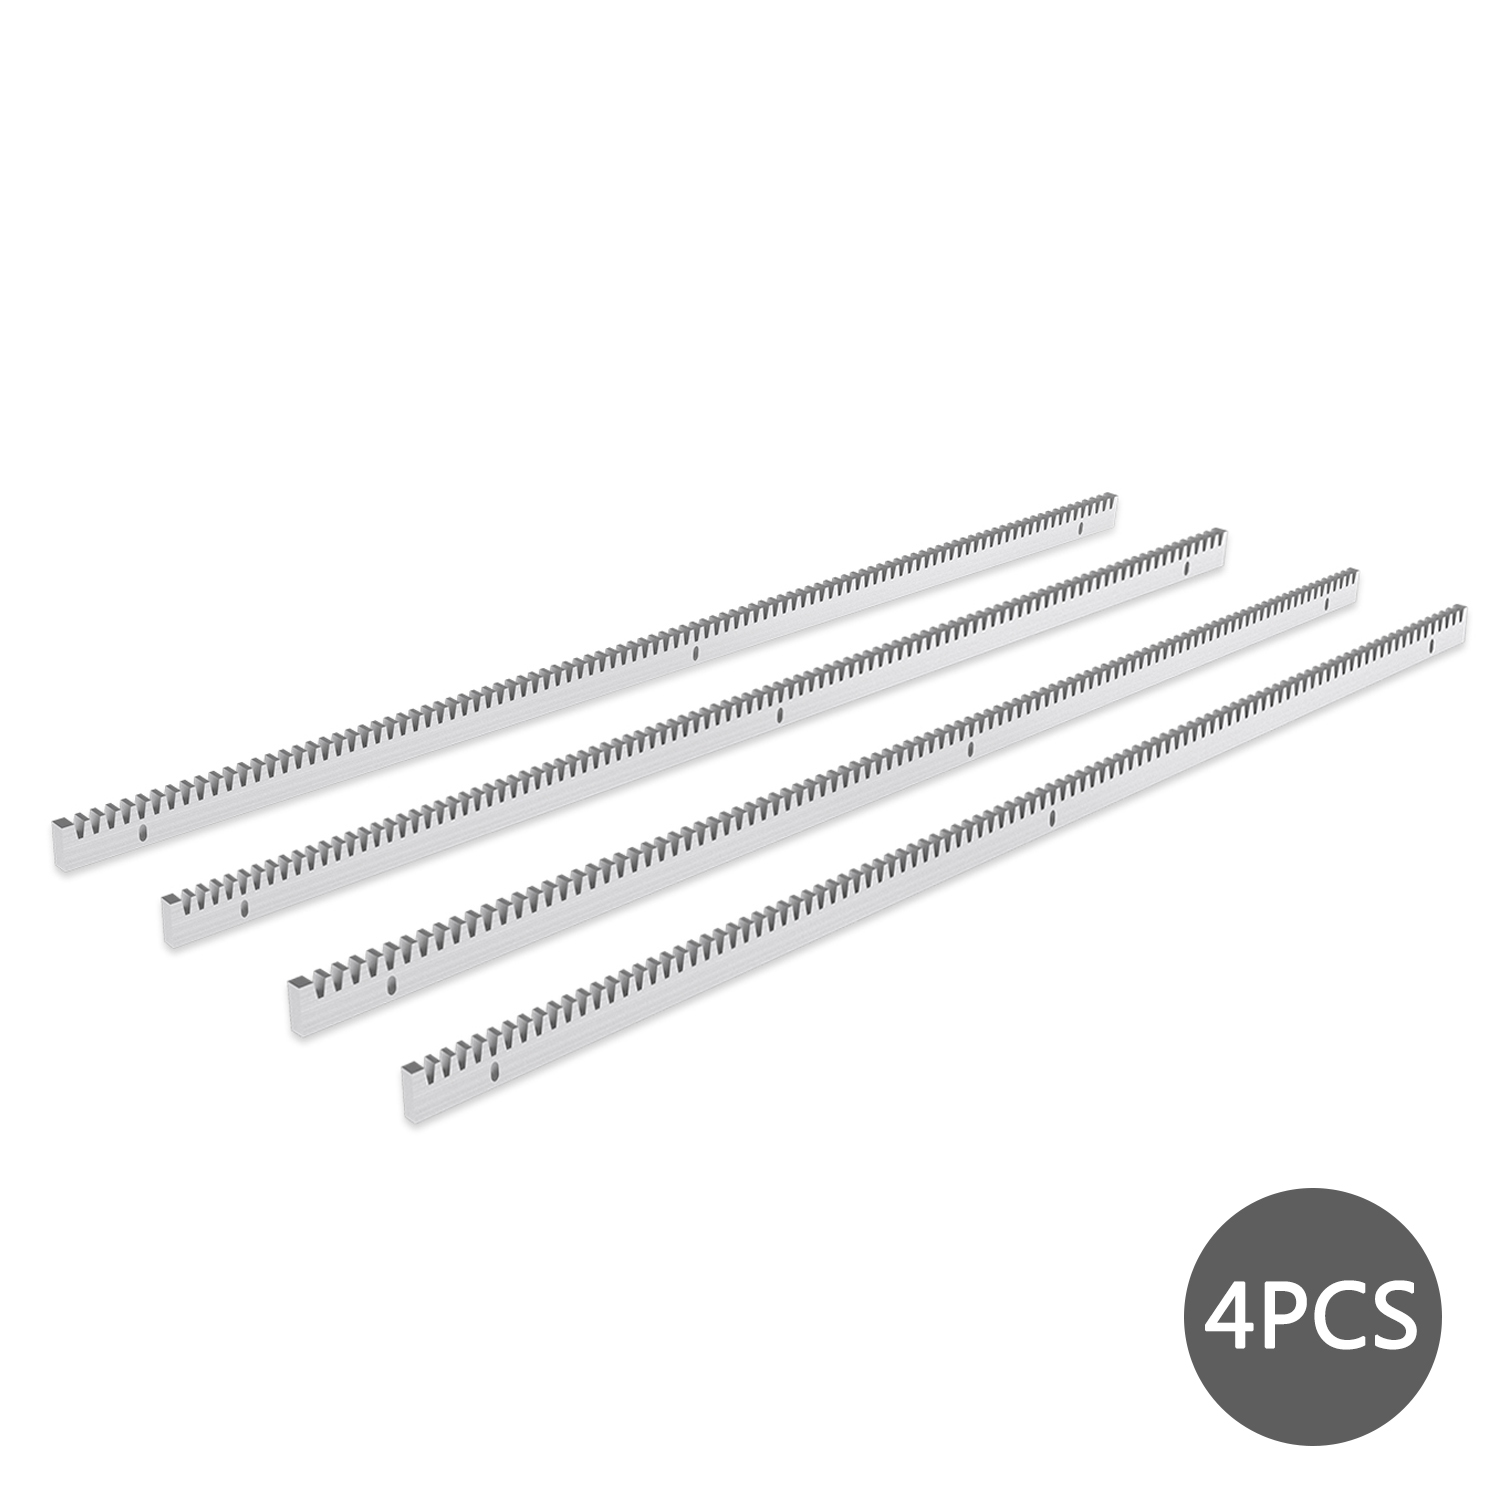
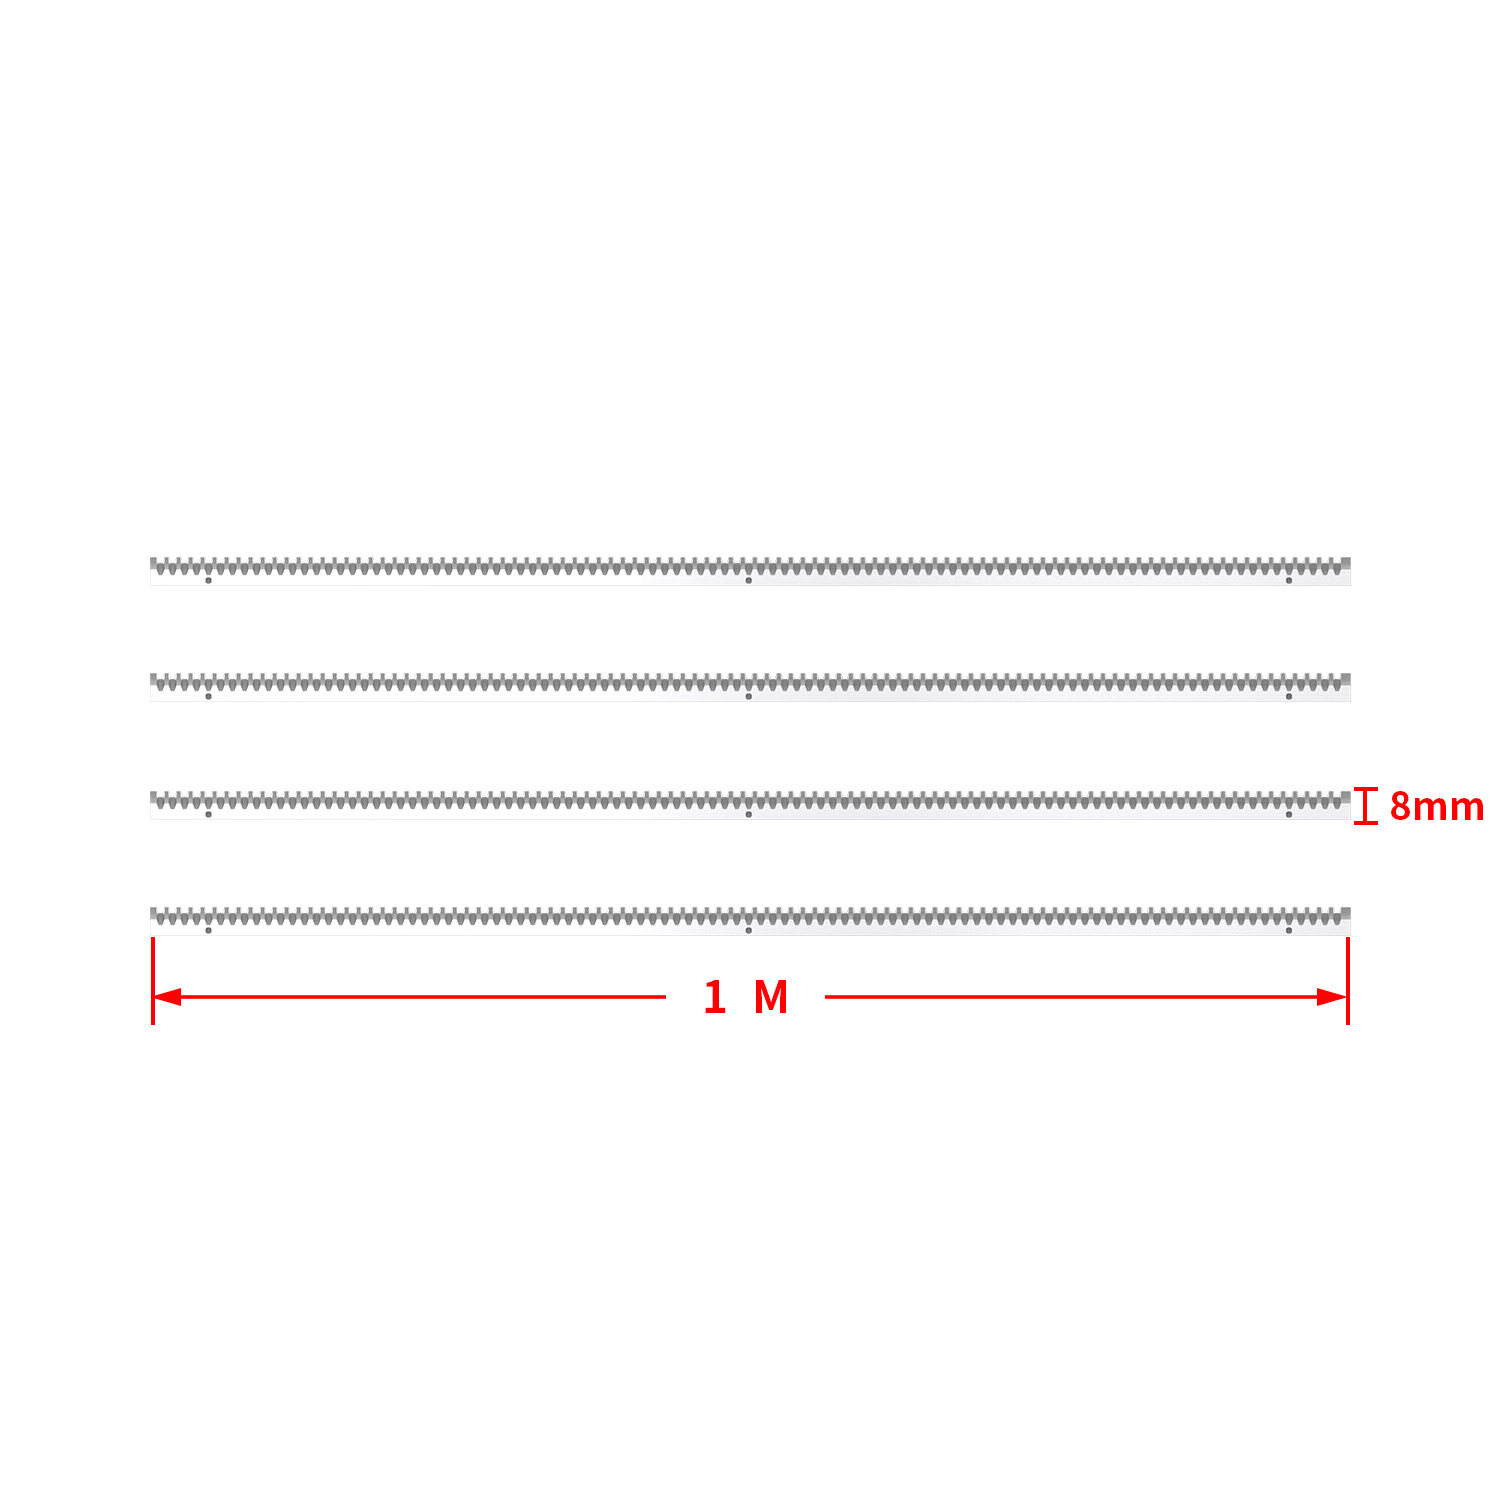
900lb rack-drive sliding gate opener with 2 remotes, 13.12ft steel racks and infrared sensor
-
United States dollar ($) - USD
-
Euro (€) - EUR
Free Shipping
Secure Payments
30-Day Returns
1–2 Year Warranty
24/7 Support
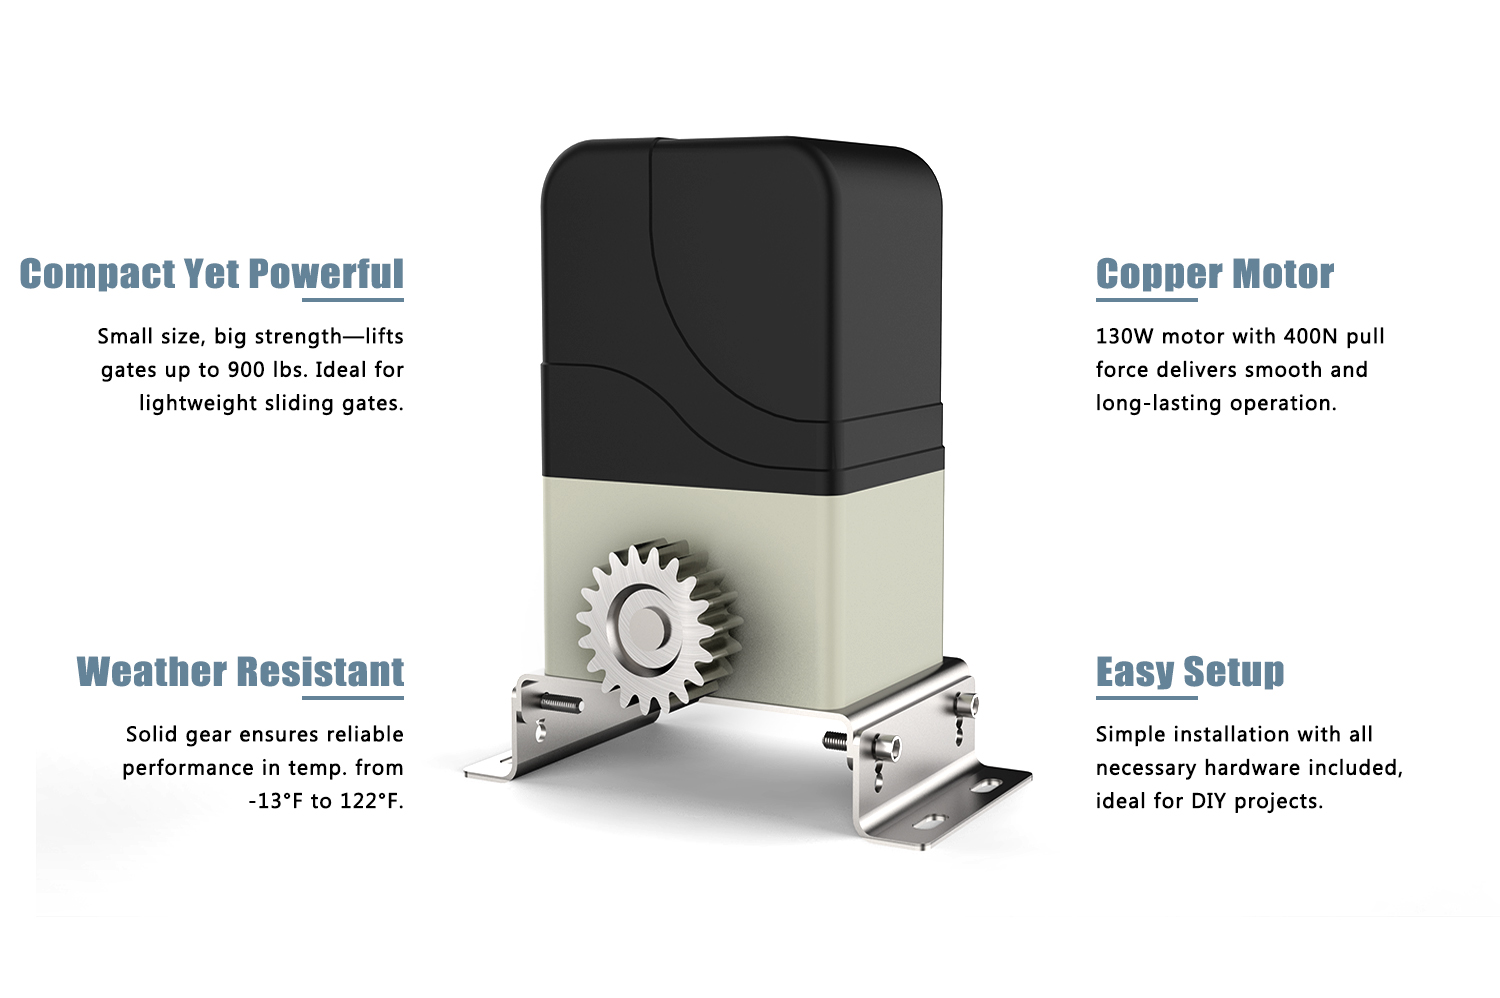
Blütezeit ME-MJ Sliding Gate Opener – Small Size, High Efficiency!
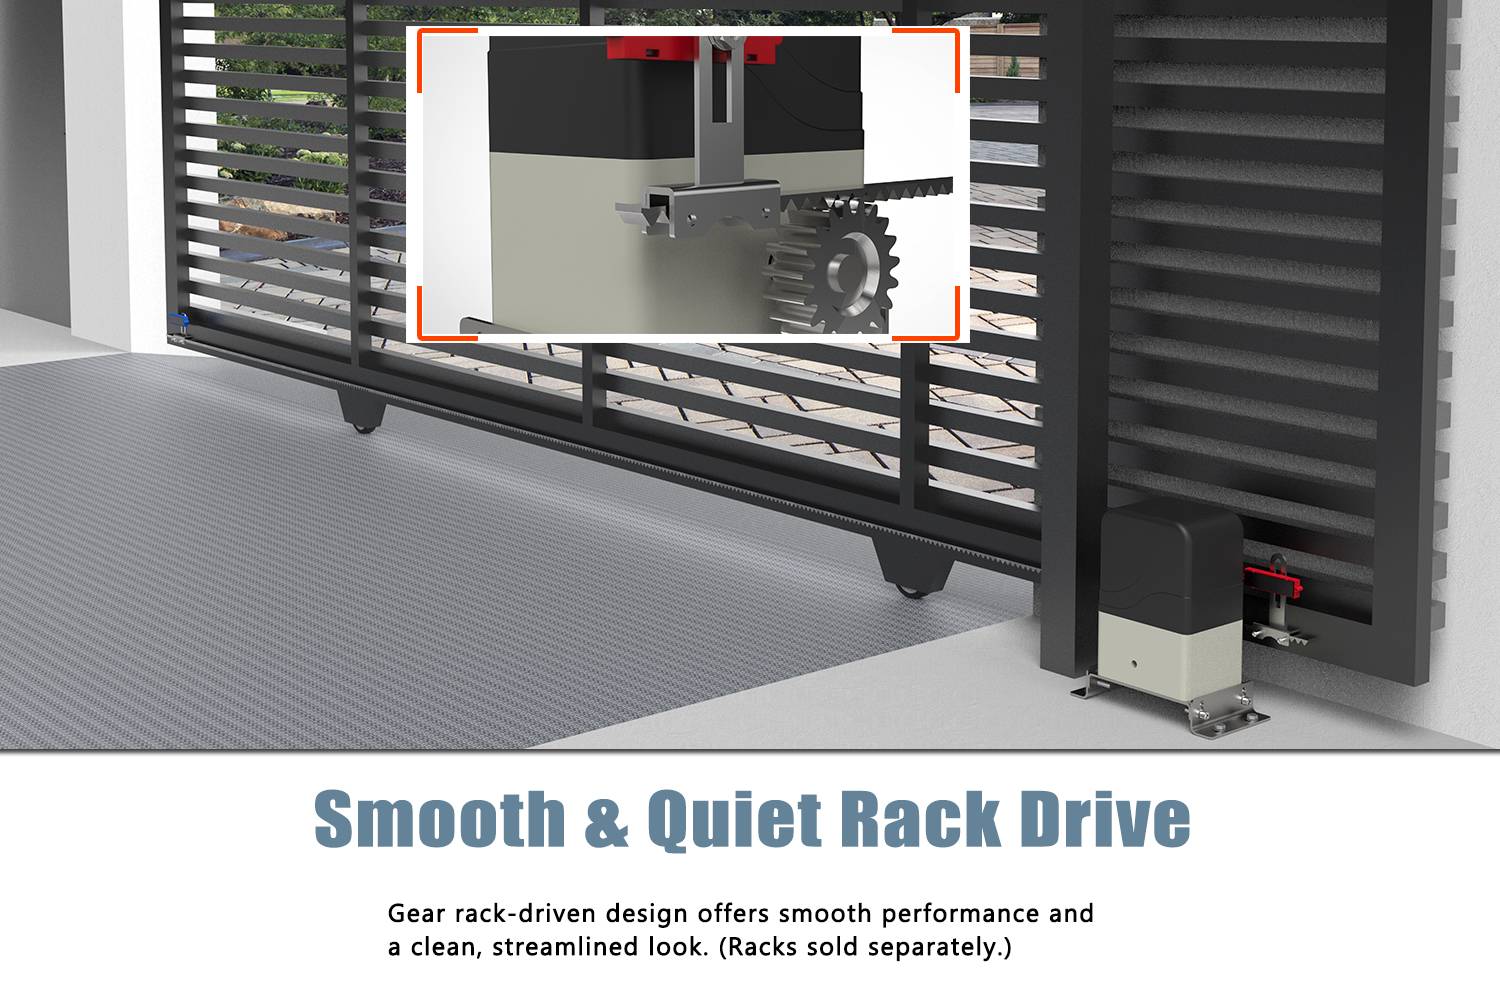


Specifications: Power Supply: AC110~120V; Motor Power: 130W; Max. Lifting Weight: 900lb; Output Torque: 12N.m; Moving Speed: 40ft/min; Remote Control Range: ≥100 ft; Frequency: 433.92MHz; Remote Capability: 100pcs (2 are included).
Built for Convenience and Strength

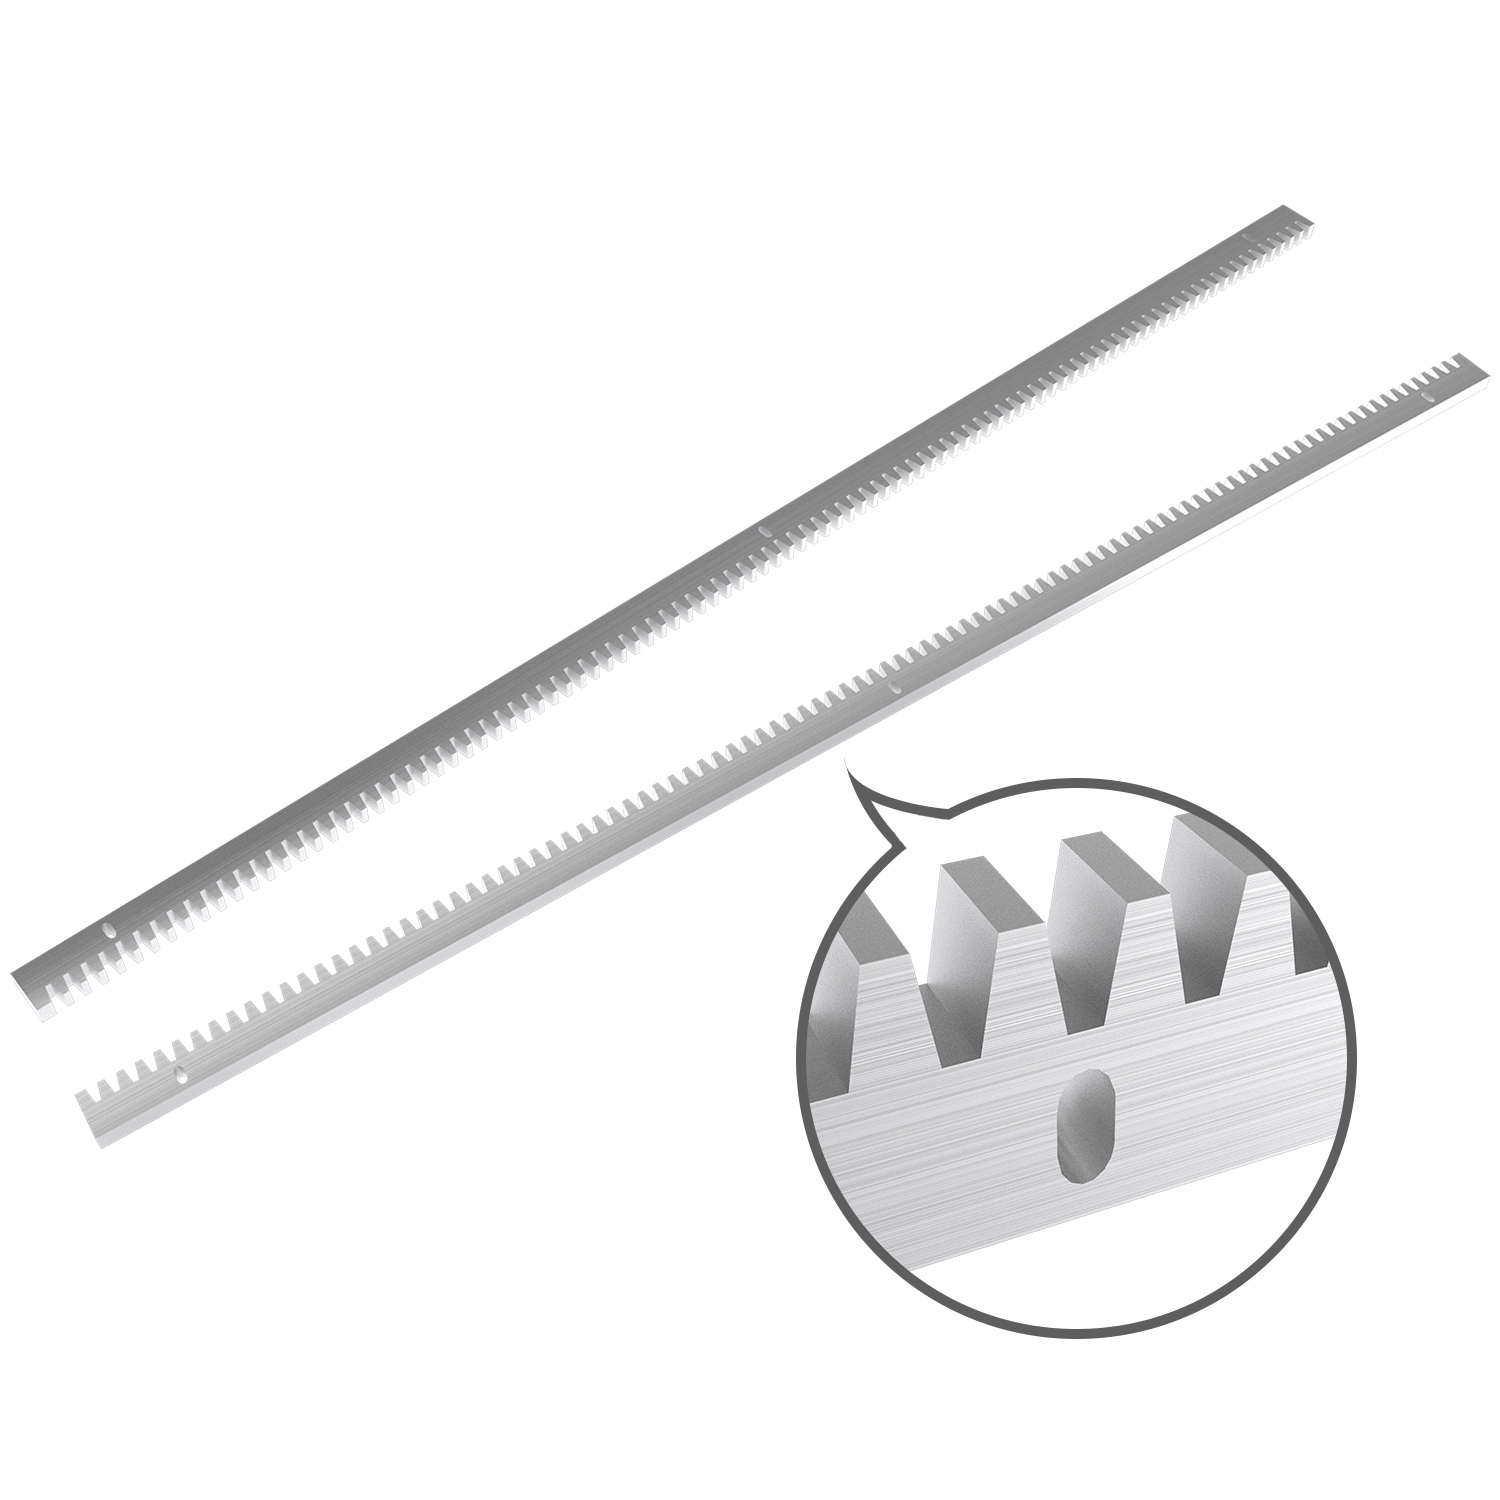
Compatible with Two Rack Types
Compatible with nylon and galvanized iron racks, available for separate purchase.

Reinforced Metal Base
Thickened and elevated metal base ensures stability, durability, and resistance to deformation.

Manual Emergency Tool
Includes a hex key for manual clutch operation, allowing easy gate movement during power outages.

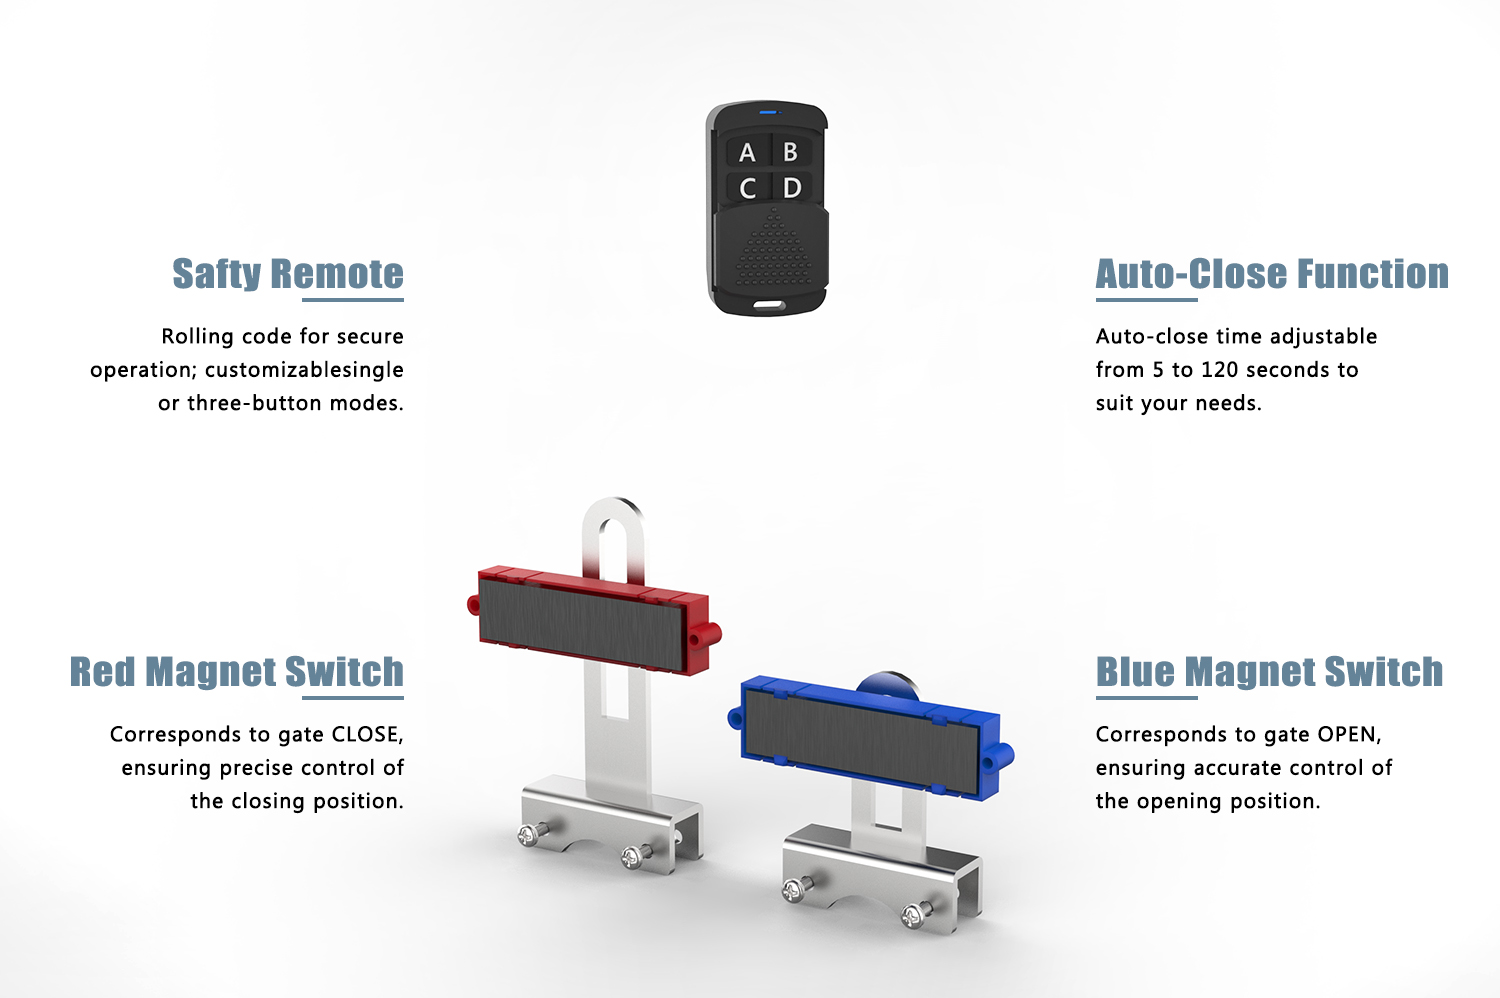
Dual-Color Limit Blocks
Two-color magnetic limit blocks (BLUE for OPEN, RED for CLOSE) make it easy to identify and install.
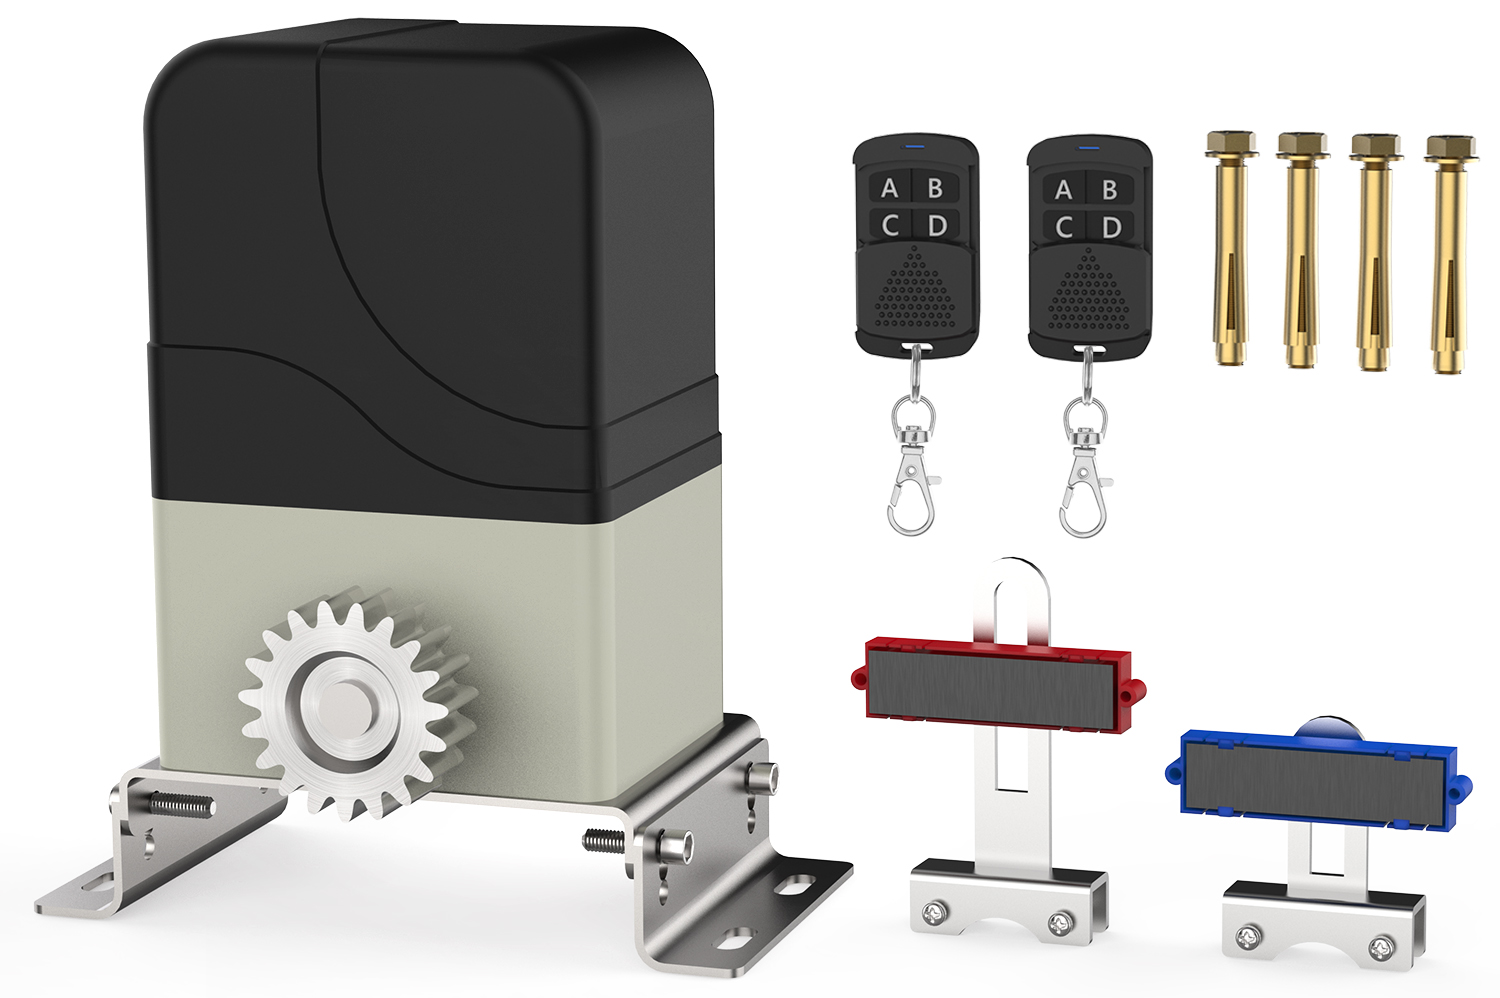
Complete Accessories for Easy Installation


* Made of High-Quality Galvanized Steel – Weather-Resistant, Rust-Proof, and Built to Last. * Rack-Driven Design – Provides a Clean Look, Smoother Movement, and Quieter Operation with Less Maintenance. * Welding Required – Nuts (included) must be welded to the gate frame for secure installation.
Specification
| Rack Length (Each) | 3.28 ft (1 meter) per piece |
| Total Rack Length | 13.12 ft (4 meters, 4pcs total) |
| Dimensions | 39.37″ x 1.18″ x 0.32″ (1000 x 30 x 8 mm) |
| Weight (Per Rack) | Approx. 3.3 lbs per piece |
Steel Gear Rack Installation Steps
- Align the First Rack Section Precisely Position the first rack section on the gate frame and sit it firmly onto the motor’s drive gear. Ensure the gear teeth fully mesh with the rack teeth for smooth movement and optimal contact.
- Level the Rack Use a spirit level to confirm that the rack is perfectly horizontal. Tip: Maintain a small clearance (1–2 mm) between the gear and rack to allow for thermal expansion and avoid unnecessary friction.
- Test Manual Movement Gently slide the gate by hand along the track to check for any sticking points or misalignment. The rack should move freely and remain fully engaged with the drive gear at every point.
- Weld the Mounting Nuts Only. * Do NOT weld the rack directly to the gate * Instead, weld the supplied mounting nuts (threaded inserts) to the gate surface at the desired fixing points. Once the nuts are secured, use the included bolts to fasten the rack in place.
- Install Additional Rack Sections Align the next rack piece with the previous one by matching the teeth precisely—no gap or overlap. Repeat the above steps for each section until the entire gate length is covered.
- Ensure consistent tooth alignment between rack segments to avoid jamming during gate movement.
- Once installation is complete, test the entire system with the gate opener to ensure smooth, quiet, and stable operation.
- Use anti-rust paint or protective coating on welded points if needed for long-term outdoor durability.
- Do NOT weld the bolts to the rack or gate. Use them only for fastening.
- Do NOT weld two rack sections together. Align them precisely and bolt each individually.


Reviews
There are no reviews yet.