
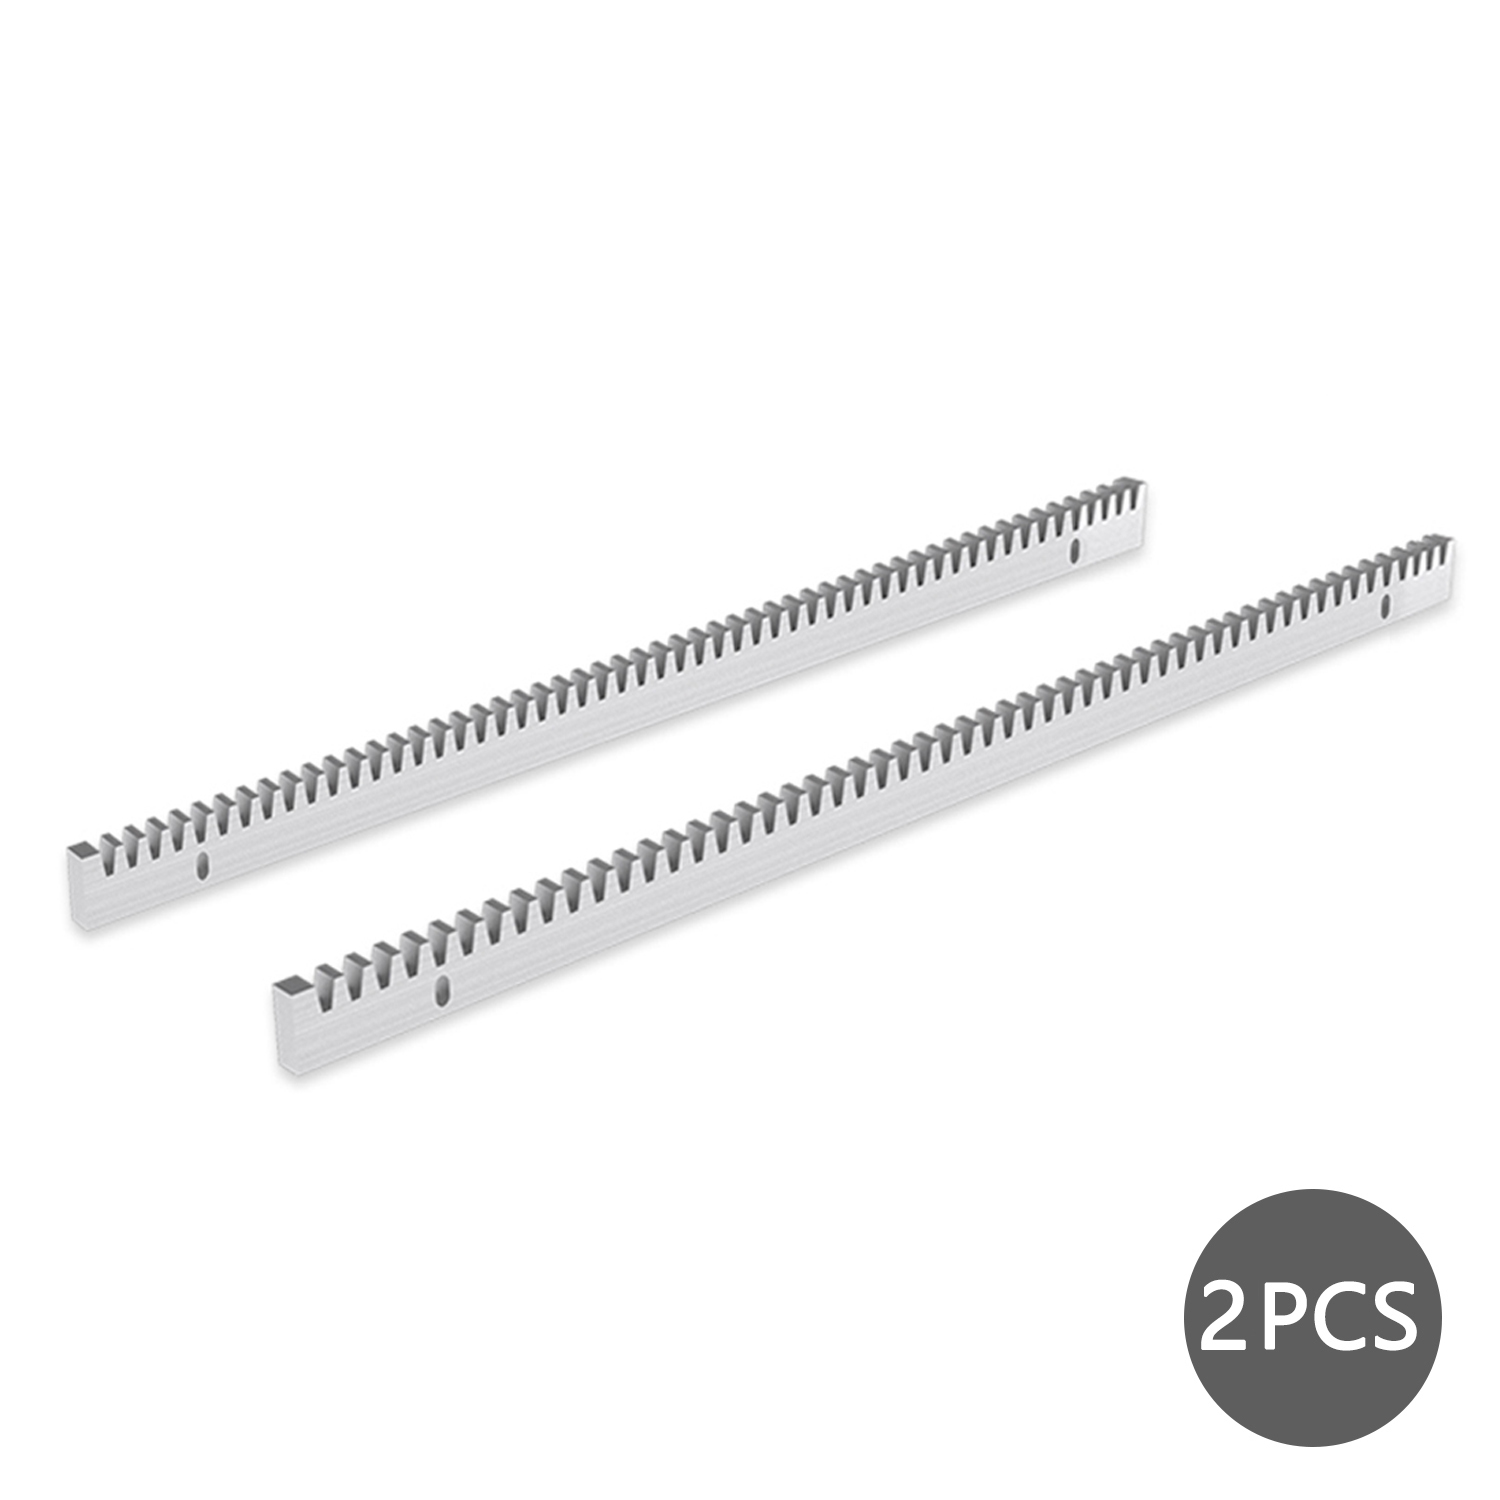
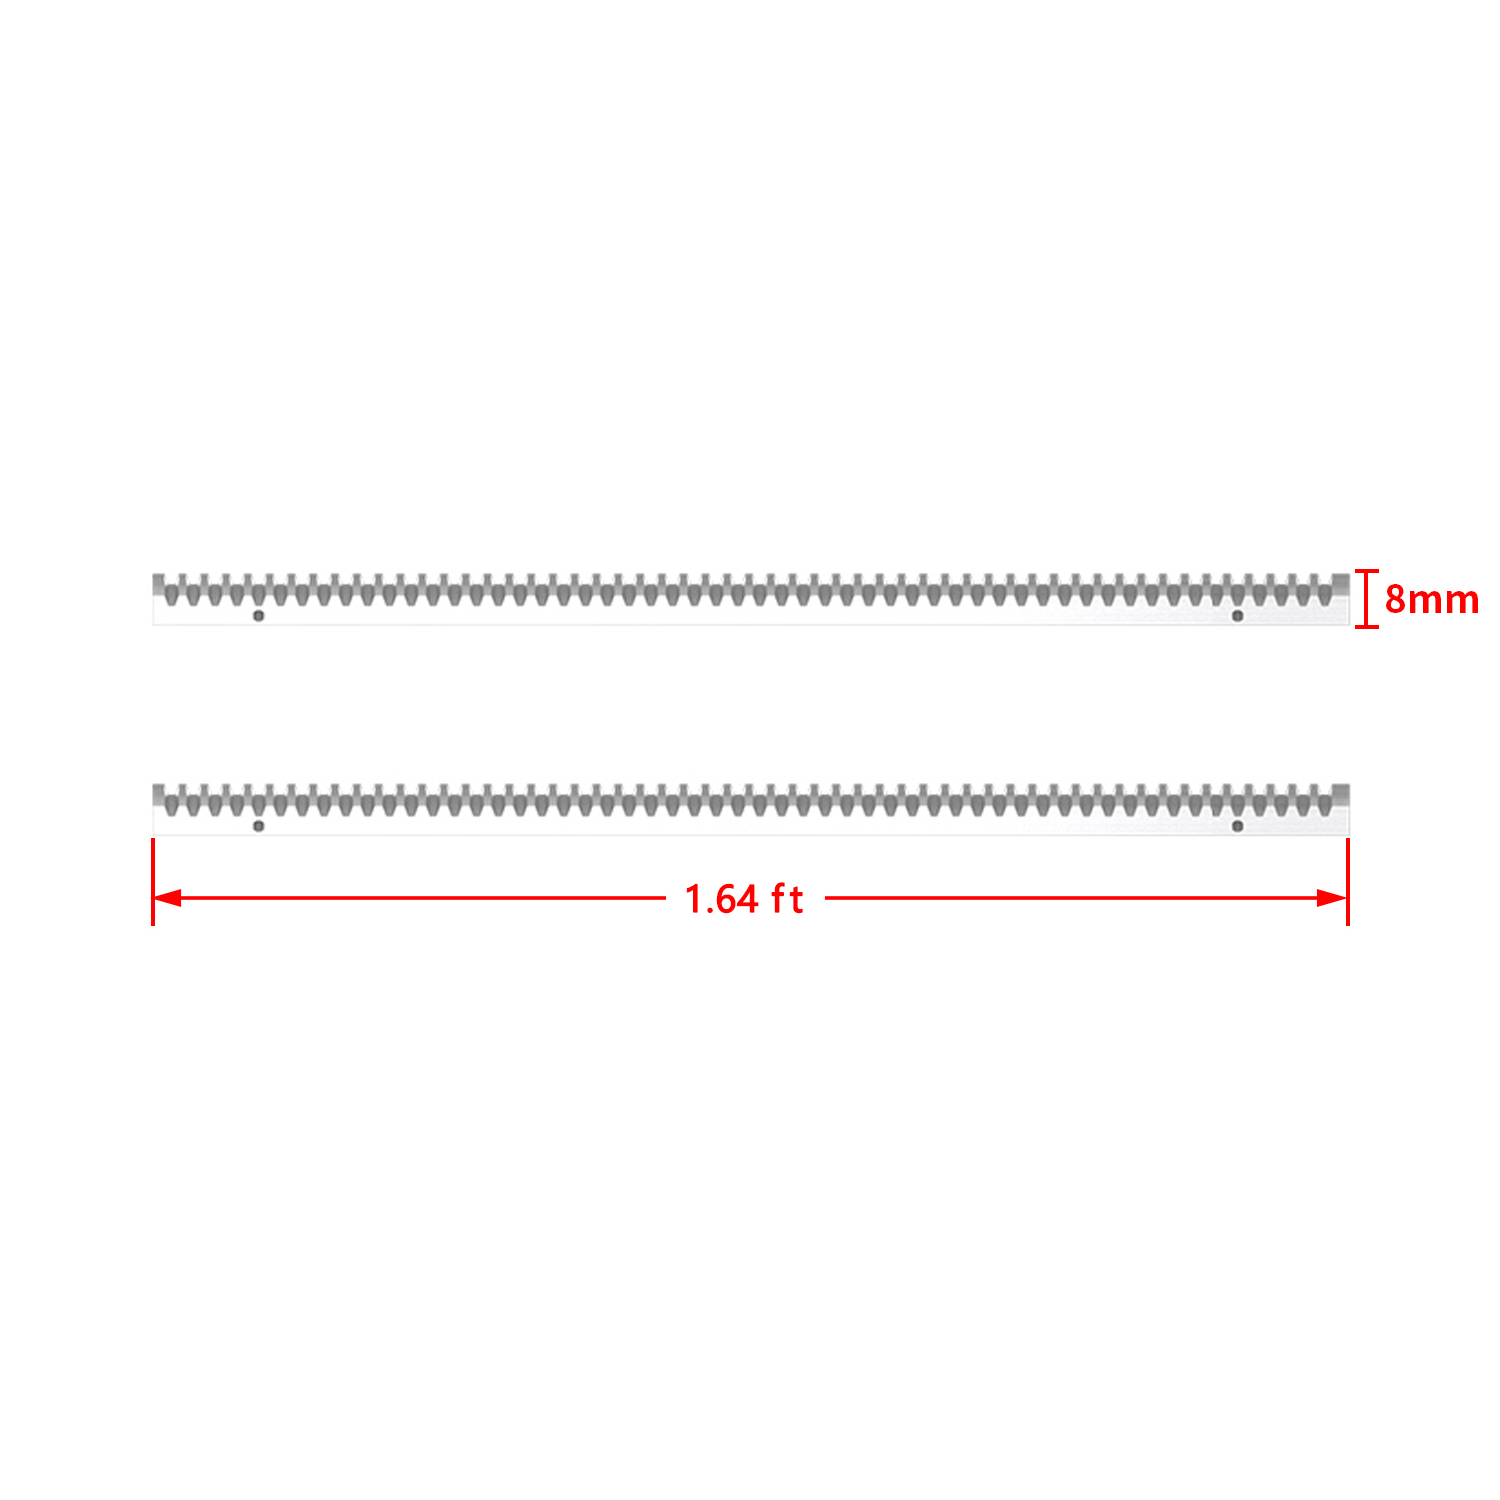
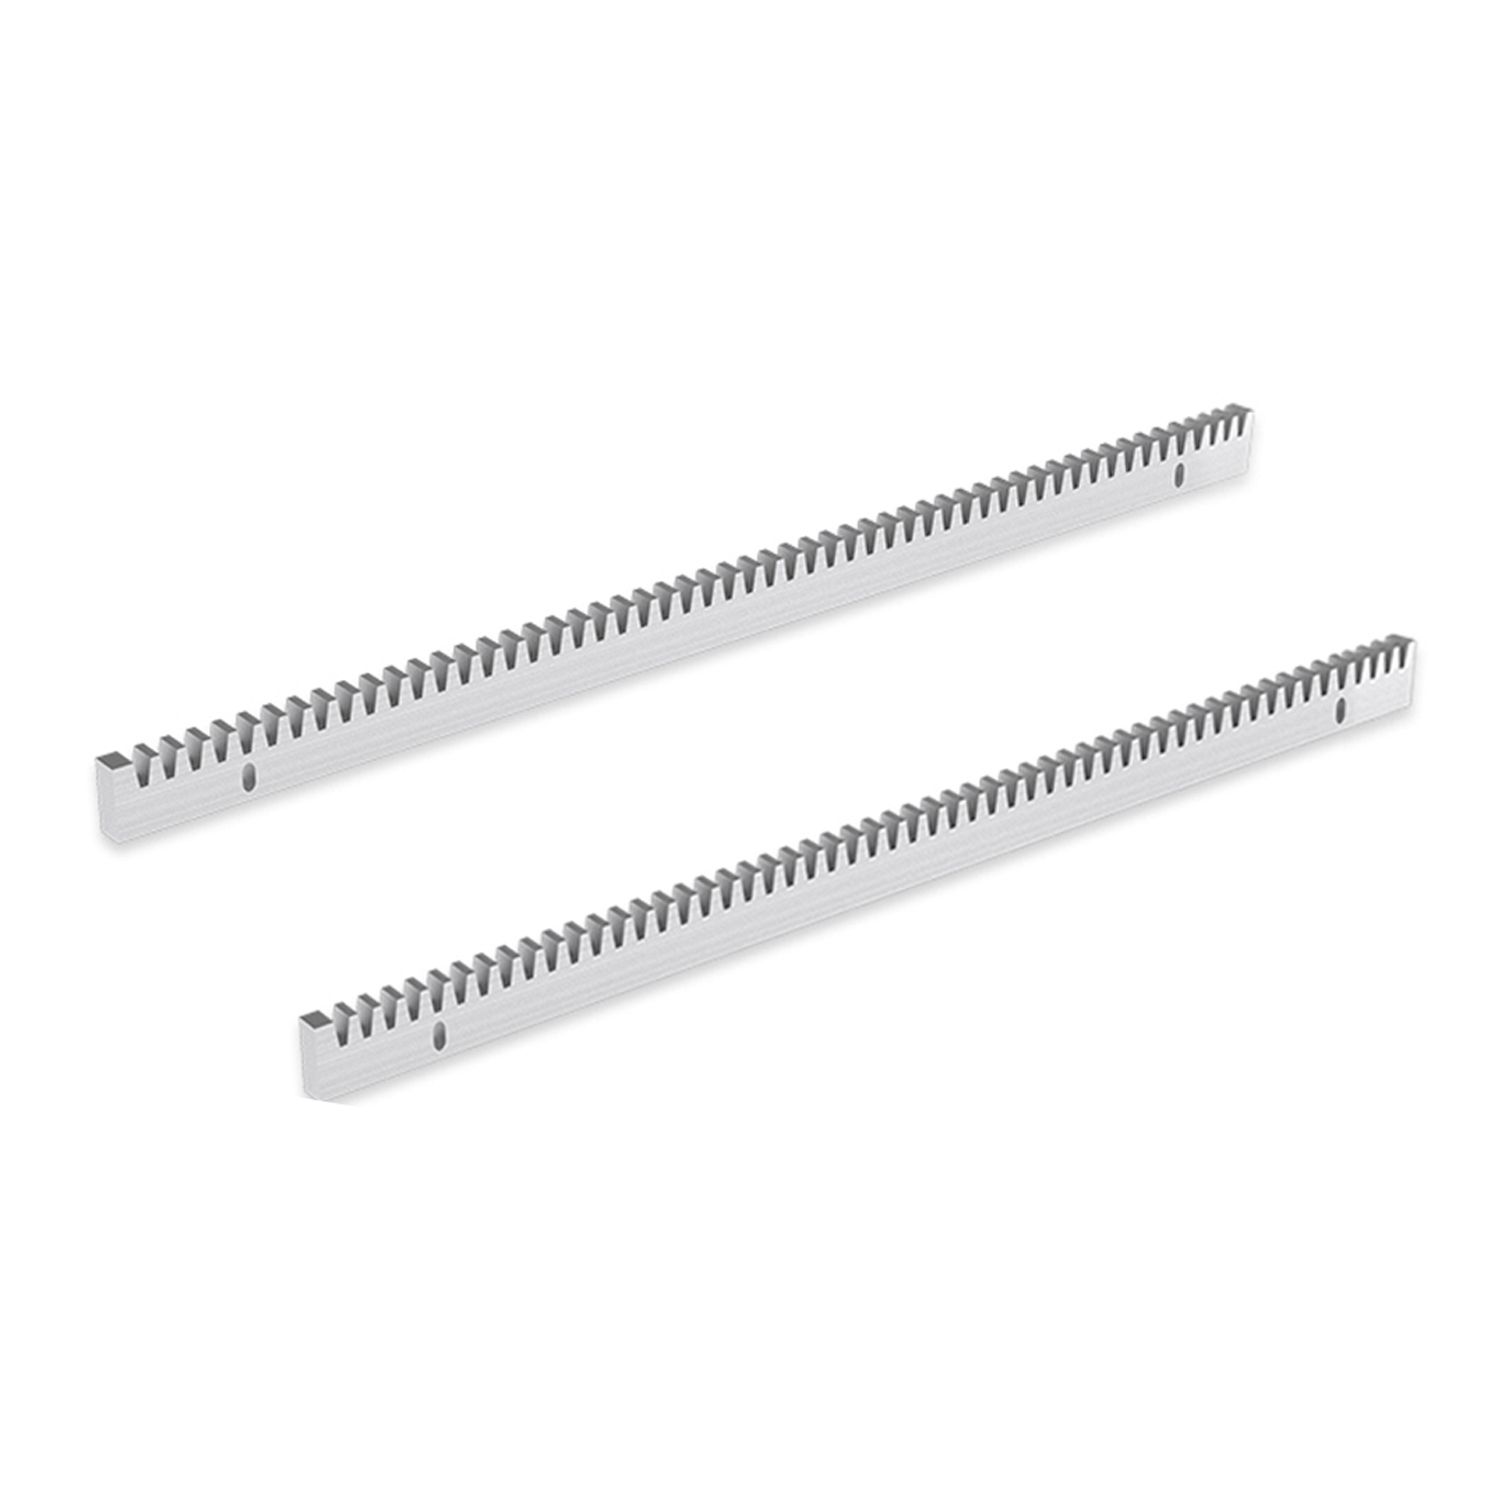
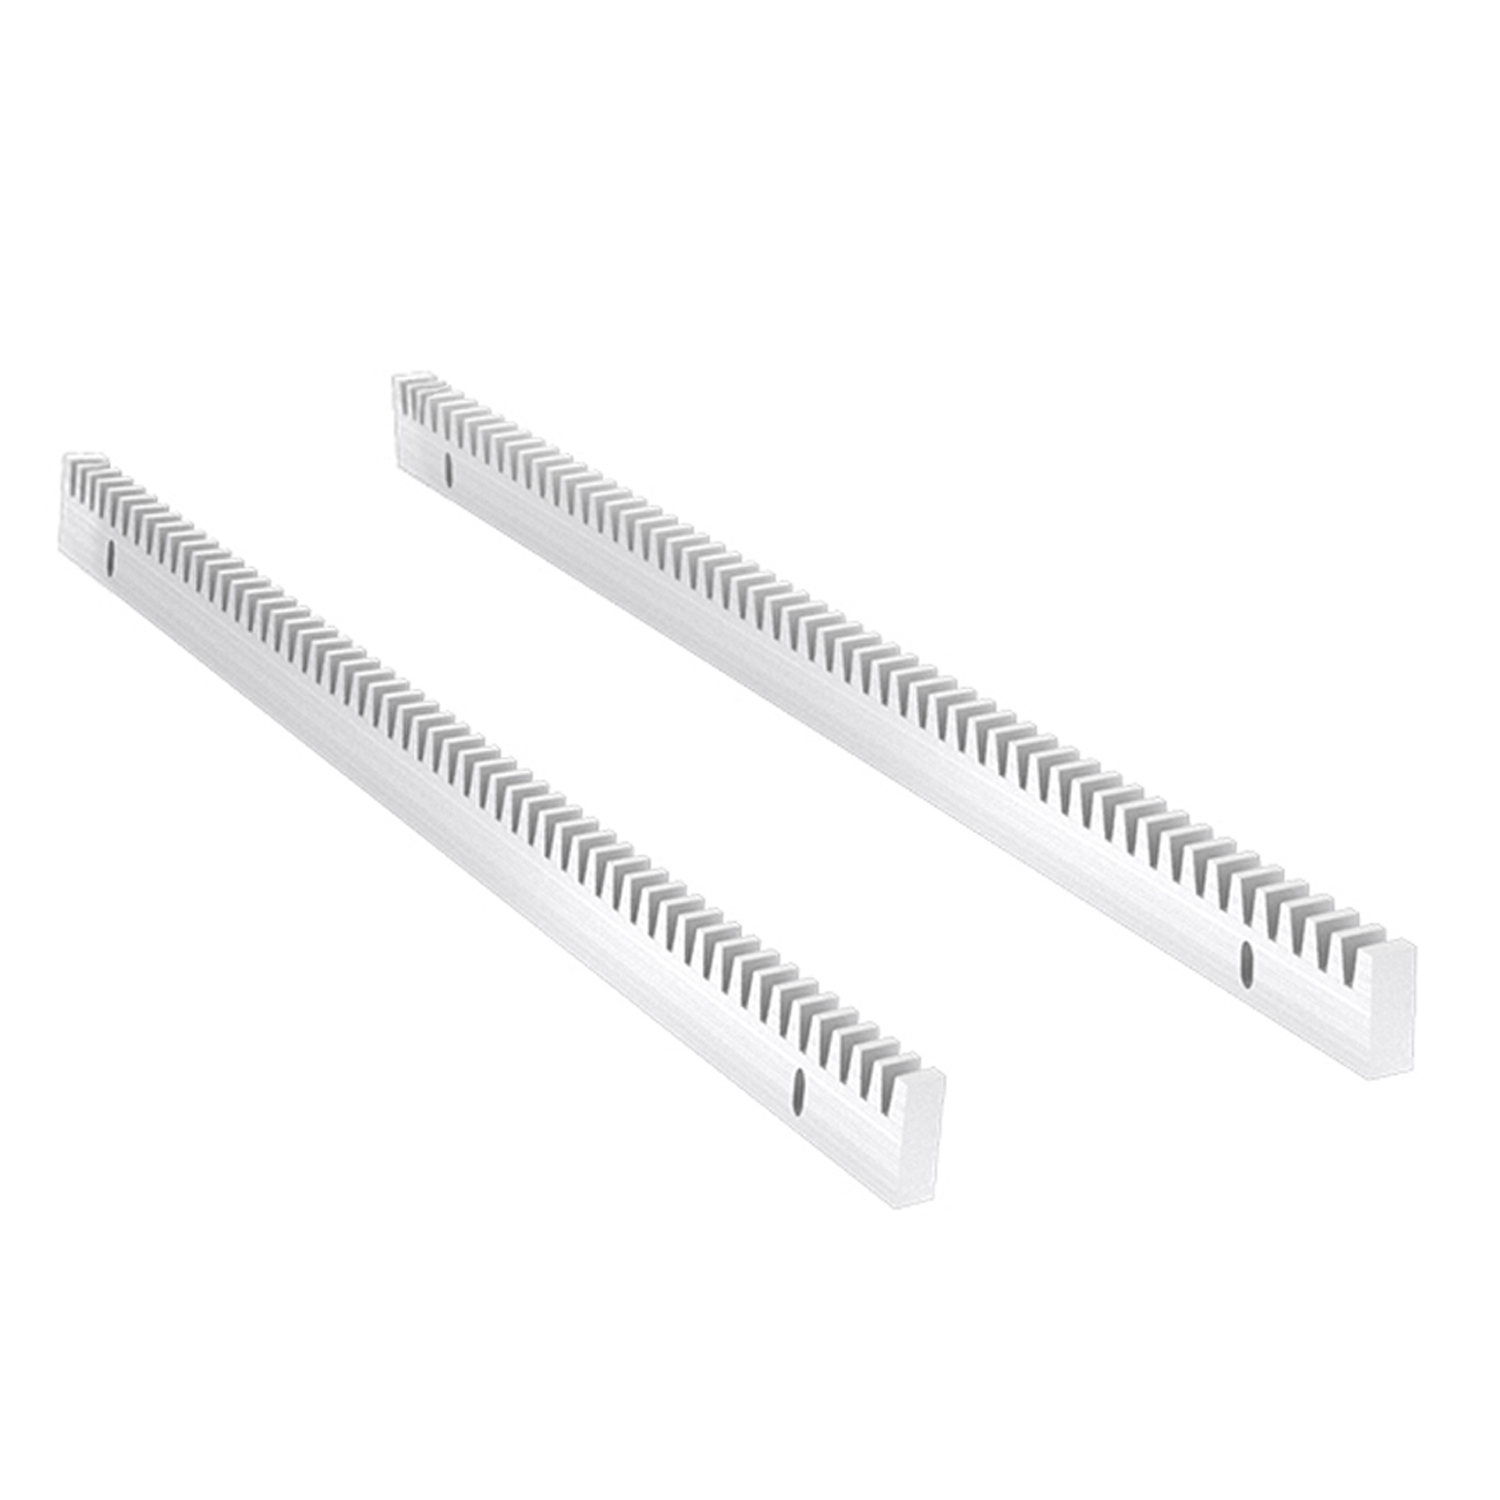
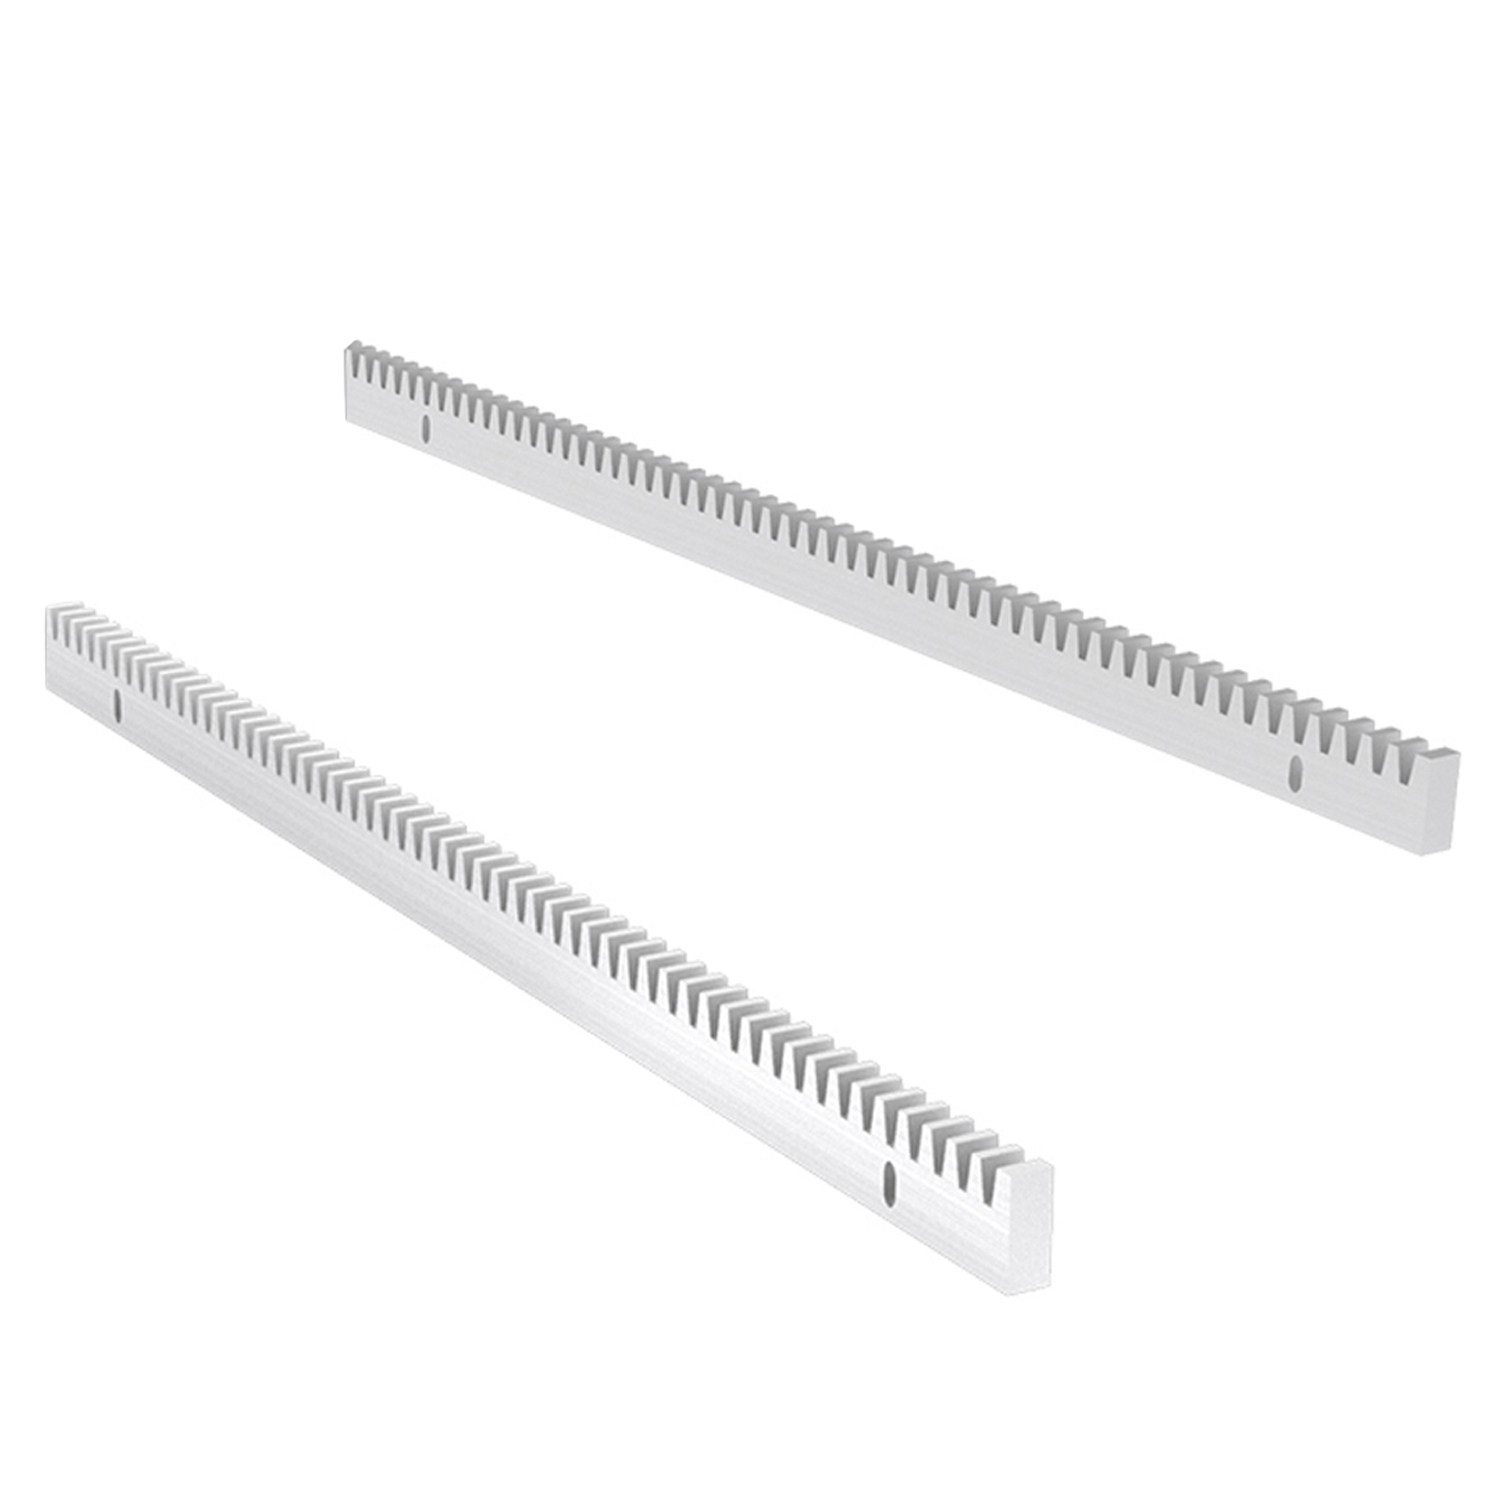
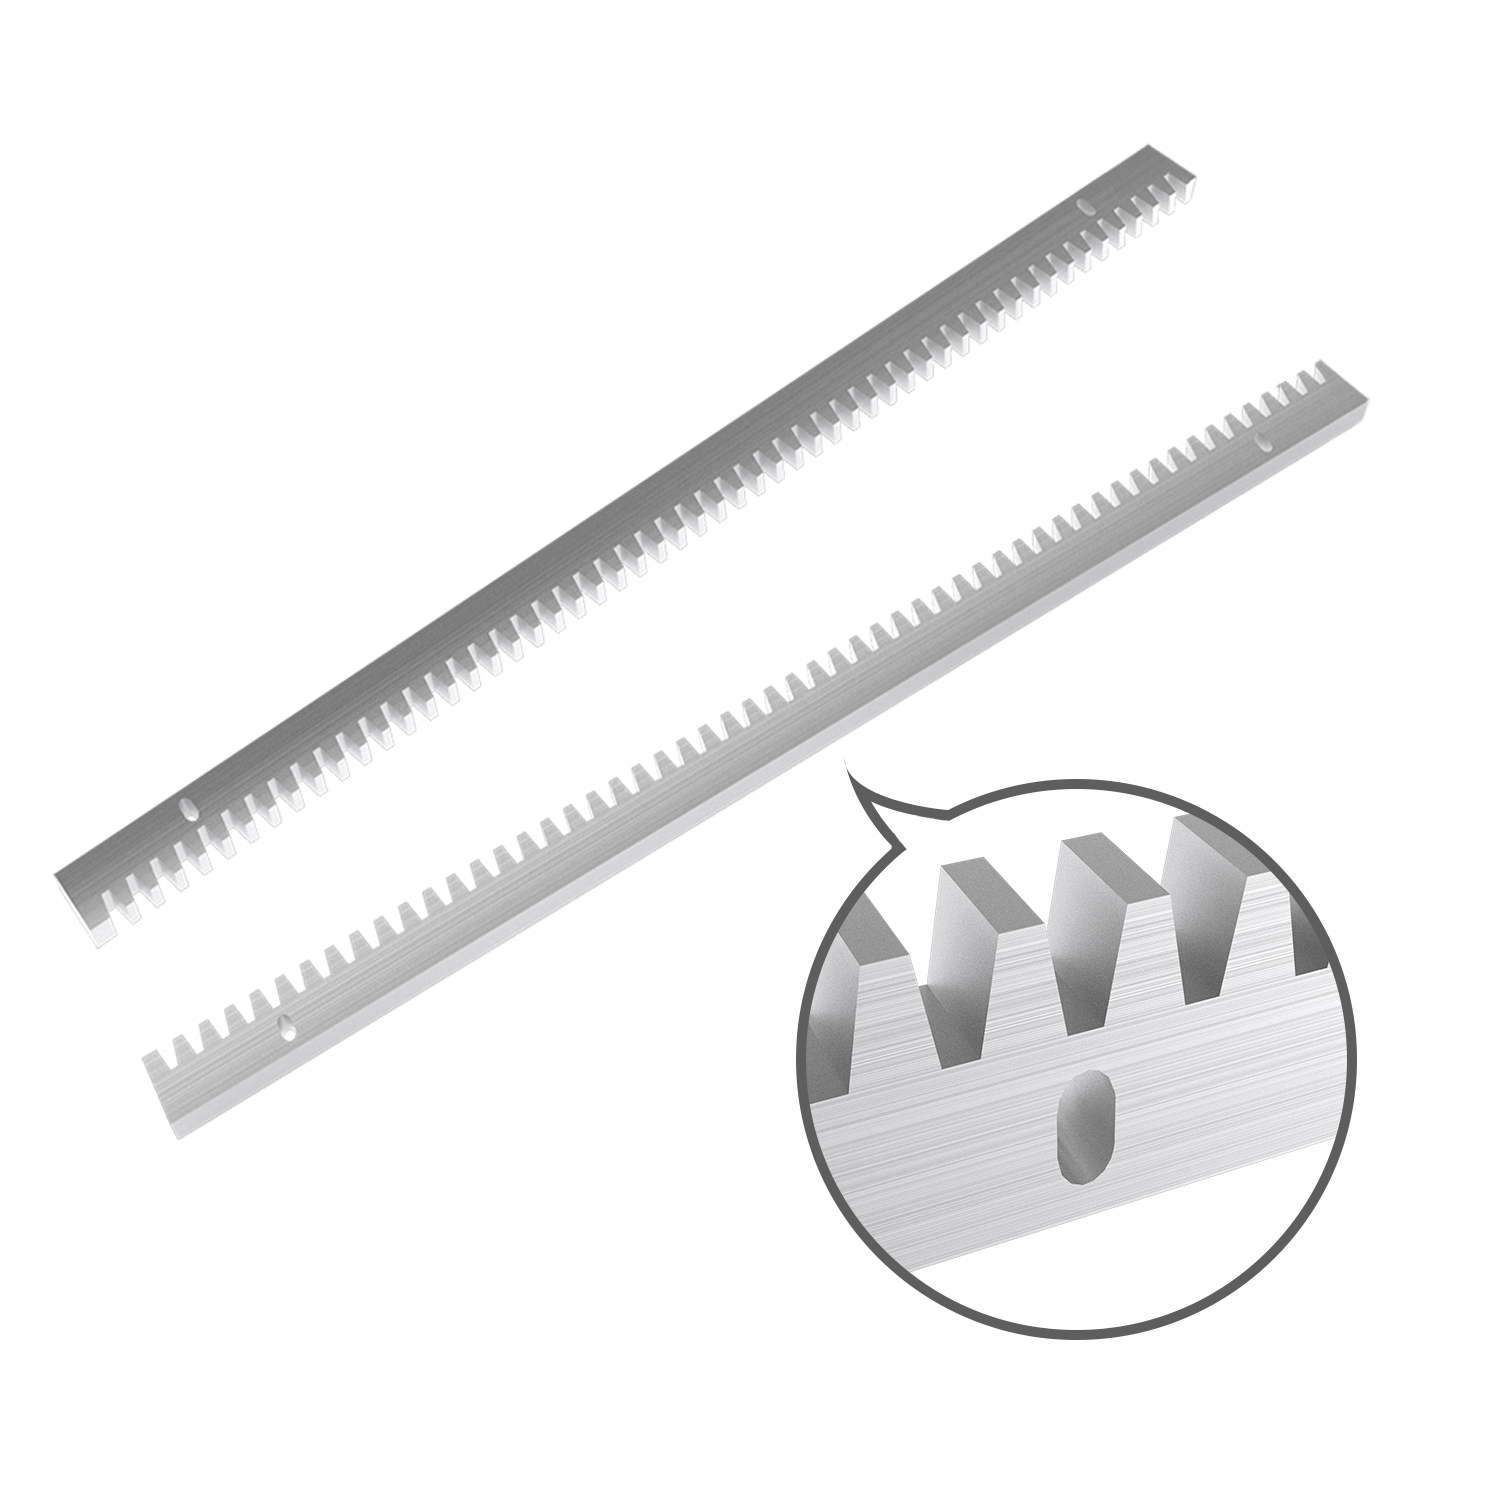
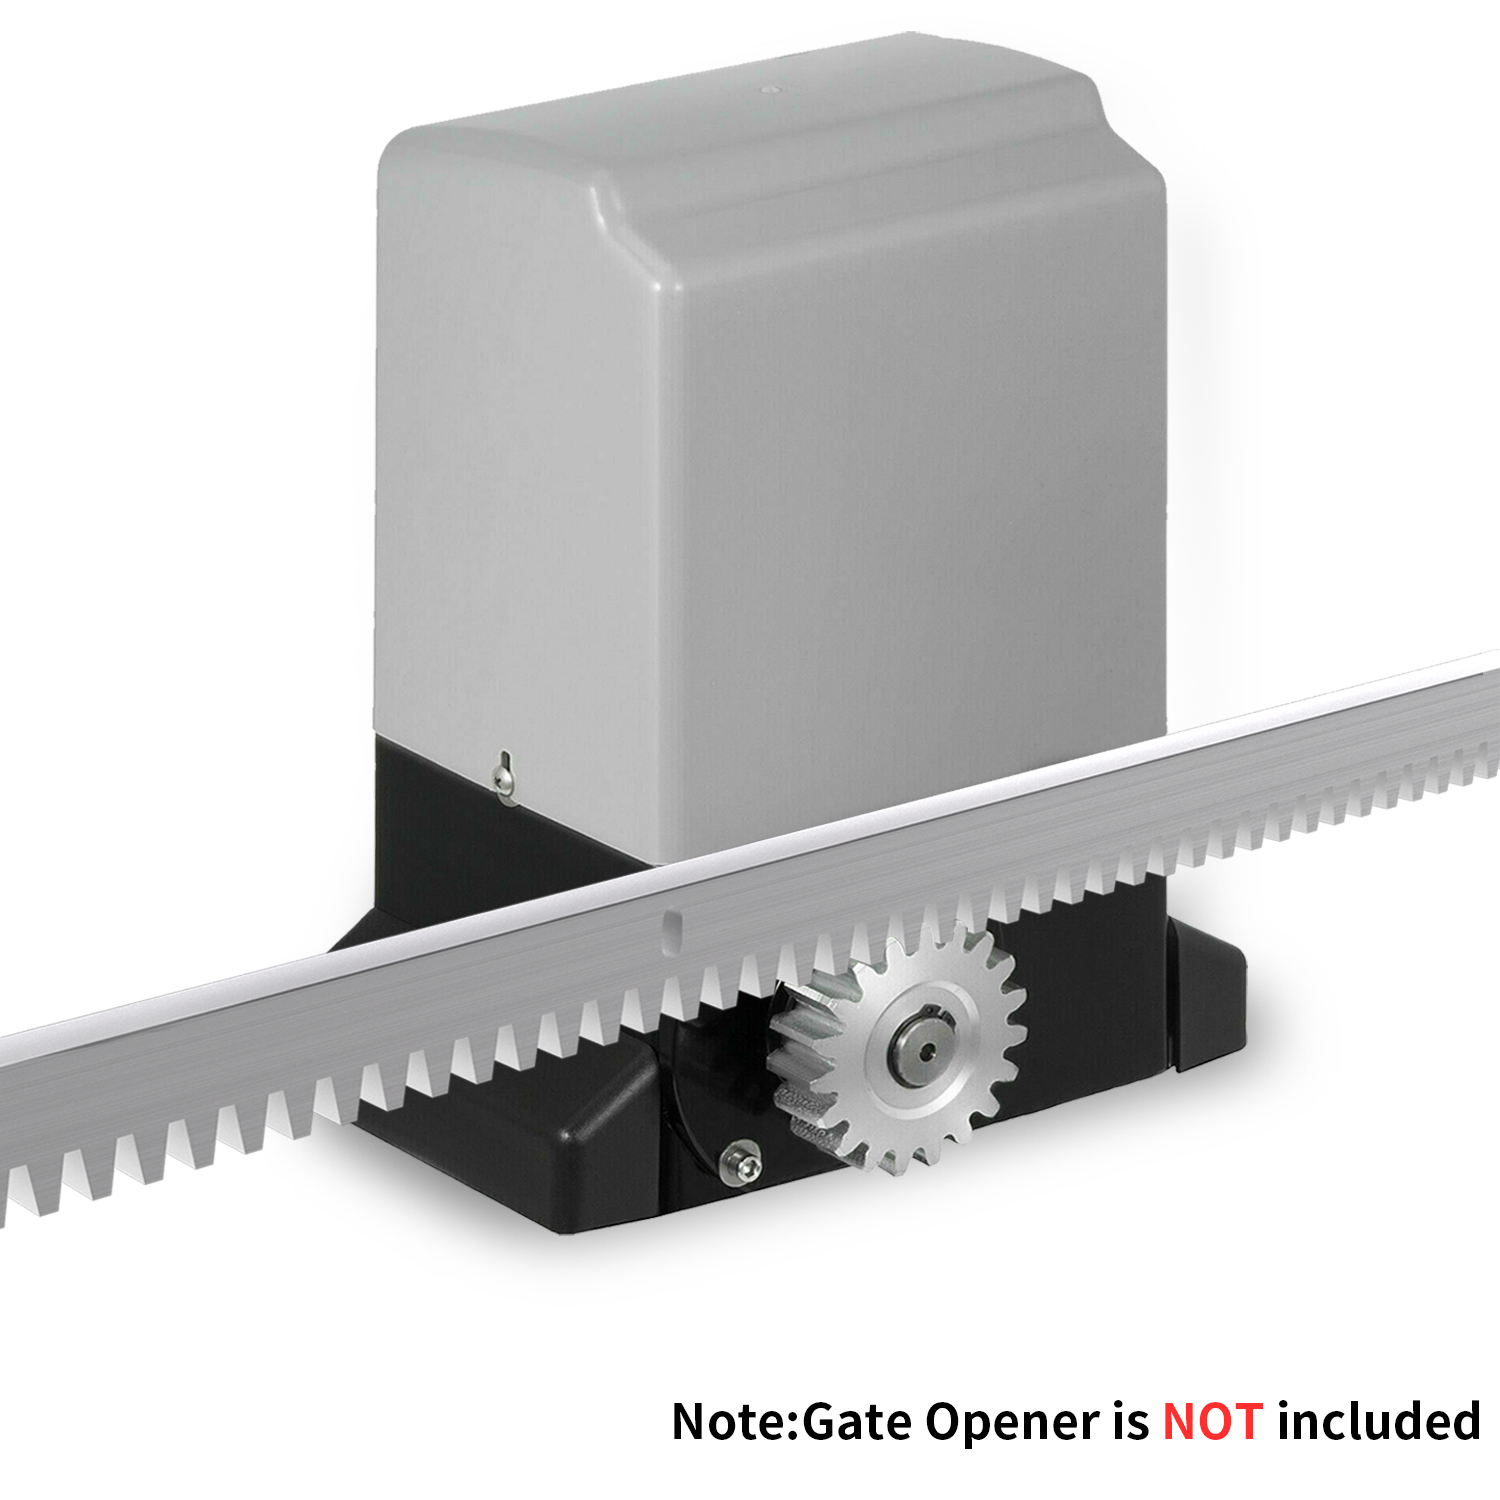
Steel Gear Rack (3.28ft)
Blütezeit Steel Gear Rack – 8mm Thick, 2pcs (1.64ft Each) with Mounting Hardware, Total 3.28ft Track for Driveway Sliding Gate Openers
$29.99
Blütezeit Gear Racks for Sliding Gate Opener

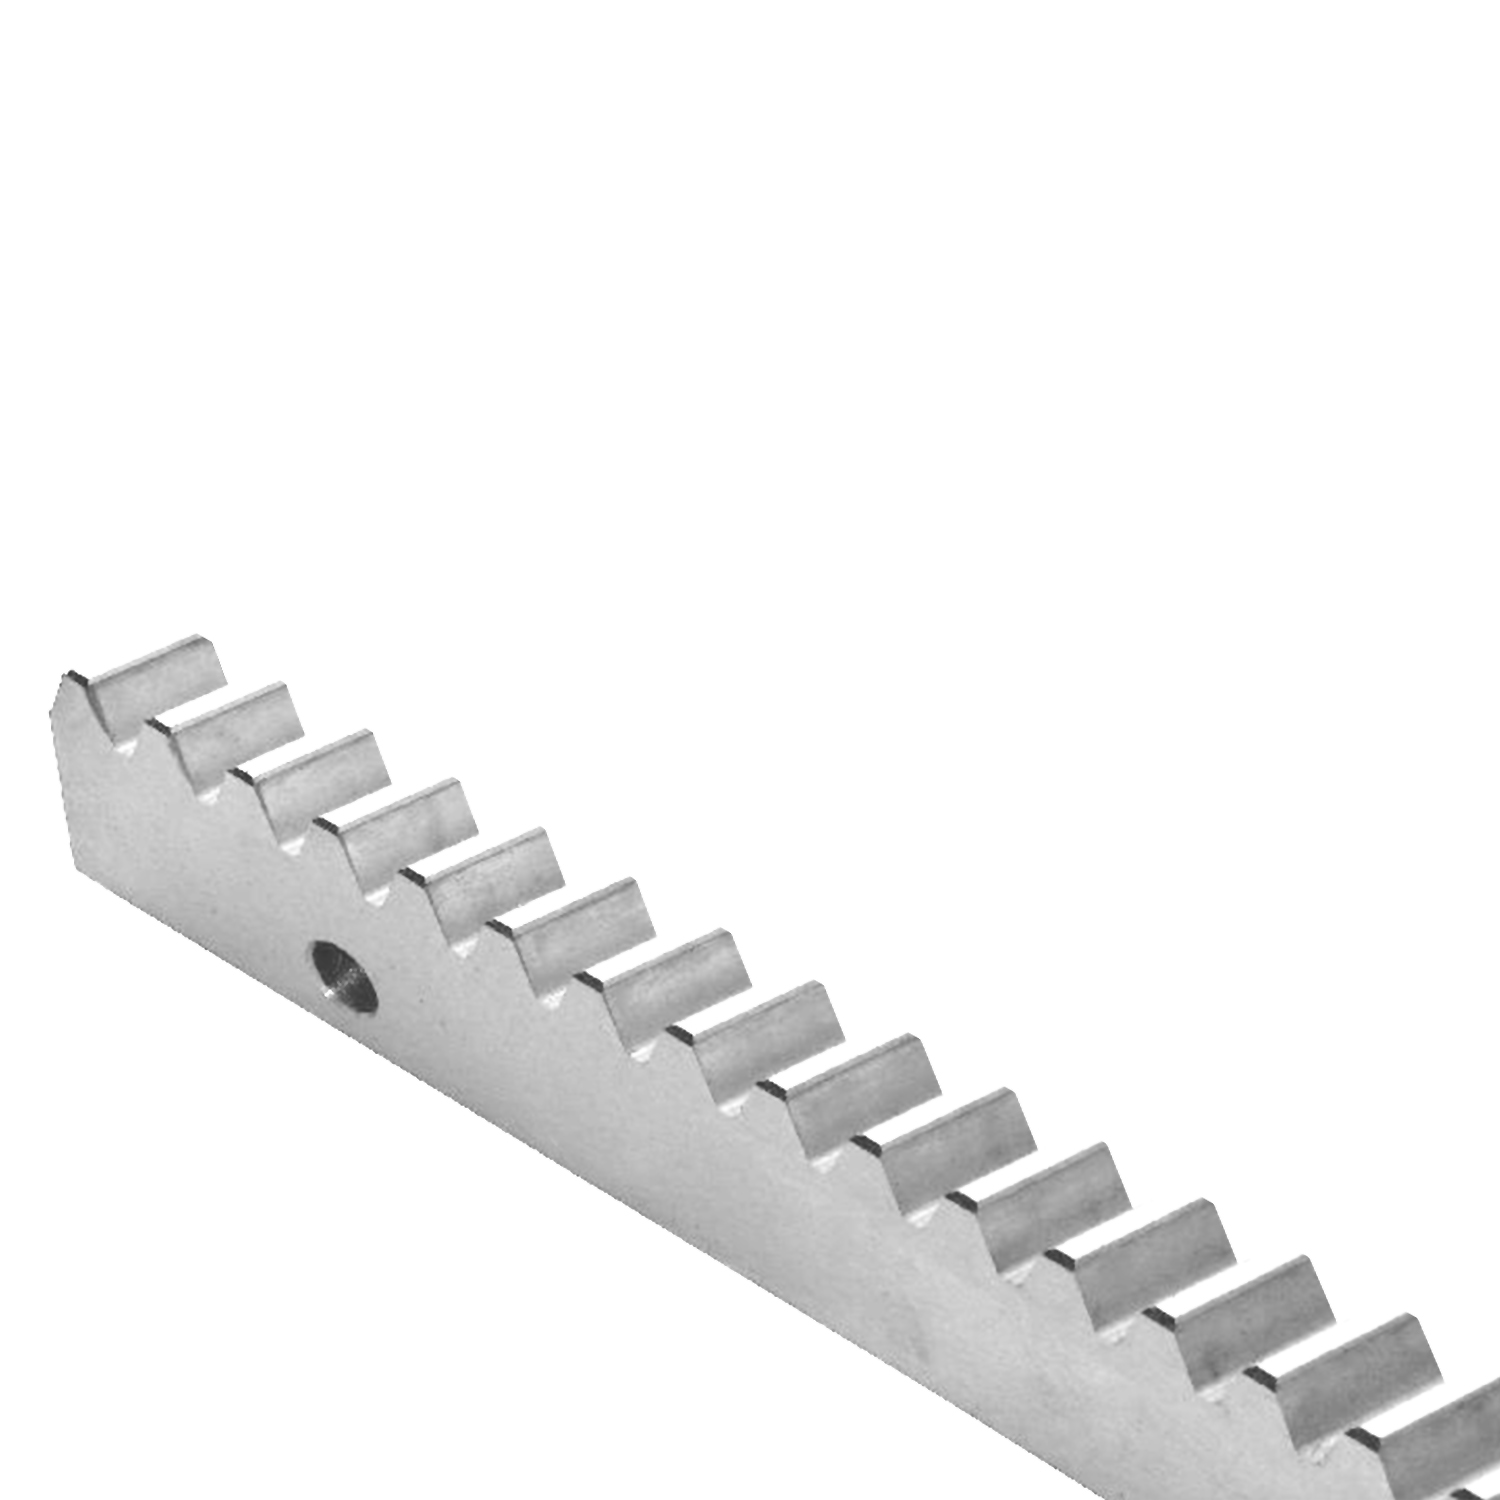
* Made of High-Quality Galvanized Steel – Weather-Resistant, Rust-Proof, and Built to Last. * Rack-Driven Design – Provides a Clean Look, Smoother Movement, and Quieter Operation with Less Maintenance. * Welding Required – Nuts (included) must be welded to the gate frame for secure installation.
Heavy Duty Solid Galvanized Steel


Reviews
There are no reviews yet.